

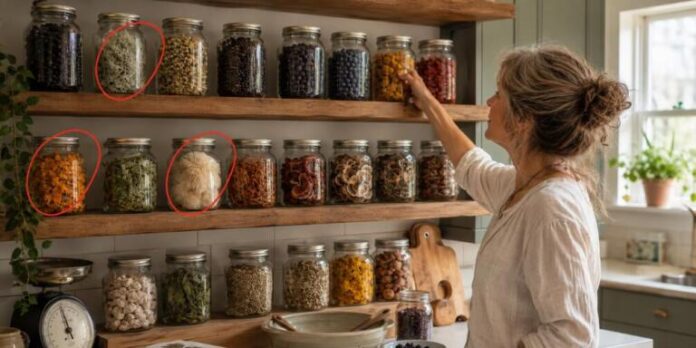

A thriving herb garden produces far more than any household can use fresh, and drying is the simplest, oldest way to stretch that harvest into something useful well past the growing season.
Done correctly, dried herbs retain a meaningful share of their flavor and medicinal value for a year or more. Done poorly, they turn dusty, flavorless, or worse, moldy inside a sealed jar that looked fine when you closed it.
This guide covers the main drying methods, which herbs suit which method, and the storage details that actually determine whether your dried herbs are worth using six months from now.
When and How to Harvest for Drying
Harvest most herbs just before their flowers fully open, since this is typically when essential oil concentration peaks in the leaves and stems.
Cut herbs in the mid-morning, after the dew has evaporated but before the afternoon heat sets in, since both morning dew and intense sun exposure reduce the oil content you are trying to preserve.
Rinse harvested herbs gently in cool water only if they are visibly dirty, and shake off excess moisture thoroughly, since any lingering water significantly slows drying and increases the risk of mold.
Air Drying: The Simplest Method
Air drying requires no equipment beyond string or a rubber band and works best for sturdy, lower-moisture herbs such as rosemary, thyme, sage, oregano, and dill.
Bundle five or six stems together, secure them with a rubber band, and hang them upside down in a warm, dry, well-ventilated space out of direct sunlight. Most herbs are fully dry within two to four weeks using this method.
A perforated paper bag placed loosely around a hanging bundle protects the herbs from dust and light while still allowing enough airflow for drying, and it is a worthwhile extra step for herbs you care about keeping visually intact.
Dehydrator Drying: Faster and More Controlled
Tender, high-moisture herbs like basil, mint, lemon balm, and tarragon are prone to molding before they finish air drying, which makes a dehydrator the better choice for these varieties.
Set the dehydrator to its lowest setting, typically between 95 and 115 degrees Fahrenheit, and arrange herbs in a single layer with space between pieces so air can circulate freely around each one.
Drying time in a dehydrator generally runs one to four hours depending on the herb and its moisture content, and herbs are ready once leaves crumble easily and stems snap cleanly rather than bending.
Oven Drying: A Reasonable Backup
An oven works in a pinch if you have neither the space to air dry nor a dehydrator, though it demands closer attention than either of the other methods.
Spread herbs no more than an inch deep on a baking sheet, and set the oven as low as it will go, ideally 180 degrees Fahrenheit or below, propping the door open slightly if your oven runs hot even at its lowest setting.
Check frequently, since ovens can scorch delicate herbs quickly at temperatures that seem low on paper. A leaf that crumbles easily between your fingers signals the batch is done.
Drying Roots and Seeds
Roots like echinacea, marshmallow, and dandelion need a different approach than leaves, since they hold considerably more moisture and density all the way through.
Slice roots into thin, even pieces before drying, since a whole root can take weeks longer to dry through the center than a leaf takes entirely, and uneven drying invites mold in the still-moist core.
A dehydrator handles sliced roots well at the same low temperature range used for tender leaves, though drying time typically runs considerably longer, often eight hours or more depending on thickness.
Seeds, such as fennel, dill, or coriander, are usually harvested only once seed heads have turned brown and papery. Cut whole seed heads and hang them upside down over a paper bag or cloth to catch seeds as they fall during the final days of drying.
How to Know Herbs Are Fully Dry
A properly dried leaf crumbles easily when rubbed between your fingers, and a dried stem snaps cleanly rather than bending. Any flexibility at all means moisture remains and the batch needs more time.
This distinction matters enormously for storage, since even a small amount of residual moisture sealed inside an airtight container is exactly the condition mold needs to take hold.
Storing Dried Herbs for Maximum Shelf Life
● Store in airtight glass jars rather than plastic bags, which allow more air and moisture exchange over time
● Keep jars in a cool, dark cupboard, since light and heat both degrade the essential oils responsible for flavor and potency
● Label every jar with the herb and the date it was dried, since dried herbs lose visual and aromatic distinctiveness over time
● Crumble leaves only right before use rather than in advance, since whole dried leaves retain their oils longer than pre-crumbled ones
Properly dried and stored herbs generally remain good for one to three years, though most lose a noticeable amount of potency well before that point, so treat the printed shelf life as a ceiling rather than a guarantee of full strength.
Common Drying Mistakes
● Harvesting in the heat of the afternoon rather than mid-morning, losing essential oil content before drying even starts
● Packing dehydrator trays too tightly, which traps moisture and slows drying unevenly
● Storing herbs before they are fully dry, which invites mold inside a sealed container
● Leaving dried herbs in clear jars on an open counter, where light steadily degrades their potency
Checking Potency Over Time
Dried herbs do not spoil the way fresh food does, but they steadily lose potency, so a simple sensory check is worth doing periodically rather than assuming a jar is still as strong as the day it was sealed.
Crush a small pinch between your fingers and smell it. A vibrant, recognizable aroma signals the herb still has meaningful potency, while a faint, dusty, or nearly absent smell signals it is time to replace that jar.
Color is a reasonable secondary indicator as well. Herbs that have faded to a dull, uniformly brownish shade have generally lost more of their essential oil content than herbs that still show some of their original green, gold, or floral color.
What to Do With a Full Pantry of Dried Herbs
A well-stocked shelf of dried herbs opens up far more than just seasoning dinner. Many of the same herbs dried for the kitchen double as the base for teas, infused oils, and simple home remedies.
If you want to go beyond drying and start turning your harvest into actual remedies, The Lost Herbs has detailed guides on turning dried herbs into teas, tinctures, and salves for home use.
Final Thoughts
Drying herbs well comes down to a few consistent principles: harvest at the right time, choose the drying method suited to the herb’s moisture content, confirm they are genuinely dry before storing, and keep them sealed away from light and heat afterward.
Get those basics right and a single good harvest can keep your kitchen and your home apothecary stocked well into the following growing season.